You wake up, pull the shade back, and the inside of the window is wet. Before you grab a tube of sealant, take a minute to figure out where that water is coming from.
It may be condensation. It may be a leak. Either way, I wouldn’t leave it there and hope it sorts itself out. A little moisture deserves attention before it turns into a bigger repair.
Why does the inside of a camper get damp?
Warm, moist indoor air can leave water on a colder surface. Inside a camper, everyday things such as cooking, showering and even breathing add moisture. Winnebago points out that enclosed cabinets and stored belongings can become damp, too. So I’d look beyond the glass. [1]
The useful question is: What was happening before I noticed the water? Write down whether you had just cooked, showered, experienced a cold night or had rain. One observation won’t diagnose the problem, but a pattern gives you a better starting point than guessing.
1. Get a humidity reading
A small hygrometer measures relative humidity. Airstream recommends monitoring it and keeping humidity at 60% or less; colder conditions may require lower levels to reduce window condensation. EPA’s general indoor guidance suggests below 60%, ideally 30–50% where possible. Those are reference points, not a guarantee that every RV surface will stay dry. Follow your camper’s manual. [2][3]
I’d note the reading in the morning and again after cooking or showering. Keep it simple: date, reading, where you noticed moisture and what you changed. You’re looking for a trend, not trying to build a science lab.
2. Give moisture a way out
Use the range-hood fan while cooking and the bathroom ventilation when showering, following the equipment instructions. Winnebago also recommends avoiding unnecessary steam and not hanging wet laundry inside. [1]
Before buying another gadget, check what your camper already has. Find the fan controls, read the ventilation instructions, and make sure you know how the system is meant to work. A fan that only circulates air is doing a different job from one that exhausts it outdoors.

3. Check the spots you don’t see every day
Open the cupboards and check accessible storage areas. Airstream recommends leaving air space between stored items and exterior walls to help circulation. It also advises opening curtains or blinds during the day so air can reach and warm window surfaces. [2]
I’d add those places to a quick walk-through: window edges, cupboard corners and the spaces behind belongings. Move items only where it’s safe and accessible. You don’t need to start pulling your camper apart to make a useful inspection note.
4. Dry the water, then deal with the cause
Wipe up moisture rather than waiting for it to disappear. EPA emphasizes fixing the moisture source and drying water-damaged materials promptly; its general guidance is within 24–48 hours to help prevent mold growth. Drying the surface alone won’t resolve an ongoing water problem. [3]
Don’t let a moisture absorber become the reason you stop checking. If you use a dehumidifier, follow its operating and drainage instructions. Airstream specifically notes the need to check the collection bucket or arrange appropriate drainage. [2]
When I’d stop guessing and book an inspection
If you find staining, soft material, a recurring musty smell or water that keeps returning to the same area, I’d get an RV technician involved. Tell them what you observed and share dated pictures. Those signs don’t identify the cause by themselves, and condensation and a leak can exist at the same time.
My advice is simple: don’t turn “it’s probably condensation” into permission to ignore water. Find out what’s happening, keep a record, and get help when the answer isn’t clear.
- Dry the wet surface.
- Record the humidity and recent conditions.
- Use ventilation as your manual directs.
- Recheck hidden corners and stored belongings.
- Arrange service for persistent or unexplained moisture.
Shopping for a used camper? Keep these questions with our used-camper inspection checklist. A clean-looking interior is a starting point for a conversation, not a substitute for understanding its condition.
References & photo credits
Checked October 26, 2026. Manufacturer advice is general context; your RV and appliance manuals govern model-specific operation. No source organization endorses CamperWorth.
- Winnebago: How to Monitor & Prevent Condensation in Your RV this Winter! Moisture sources, ventilation and enclosed areas.
- Airstream: Managing moisture and preventing moisture-related damage Humidity monitoring, storage, windows and dehumidifier drainage.
- EPA: A Brief Guide to Mold, Moisture and Your Home General indoor moisture-control and drying guidance, applied here as background rather than an RV-specific standard.
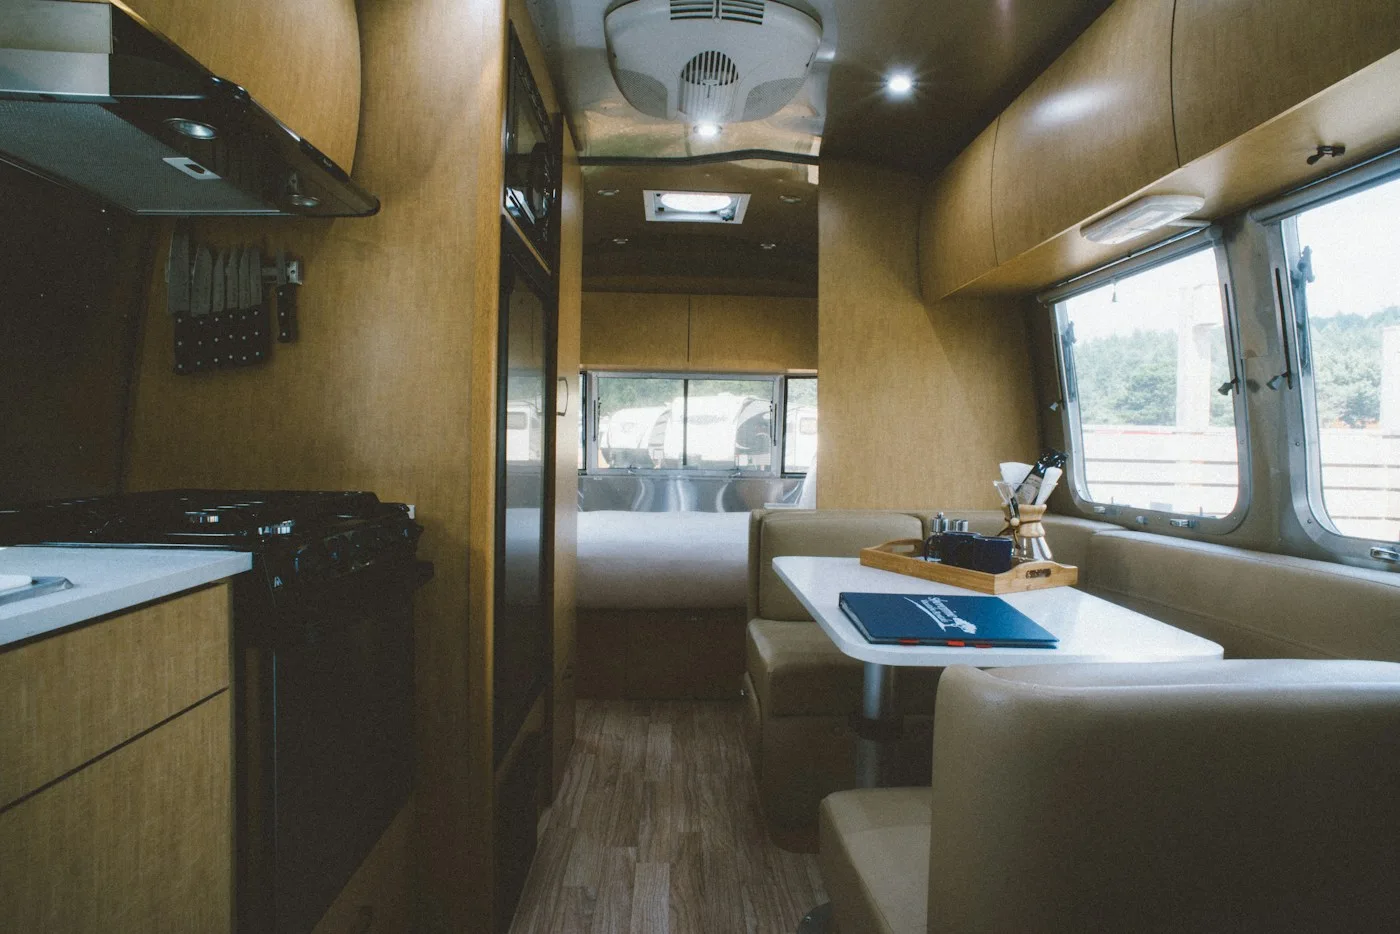
Article photos: Blake Wisz (kitchen) and Matilda Kosok (bedroom) / Unsplash. Blake Wisz · Matilda Kosok · Free under the Unsplash License, checked October 26, 2026. Photos illustrate camper interiors; they are not examples of confirmed condensation or damage.